
WARDOGS AA Tower Build: Tutorial with Video-Referenced Images
Build a compact WARDOGS AA FOB: supplies, HESCO platform, entrance and resupply, illustrated using actual video frames.
Updated:
A compact anti-air FOB needs more than a missile emplacement. You need an accessible supply point, a suitable platform and an entrance that does not obstruct your own movement. This tutorial takes you from the shopping list to a supplied position.
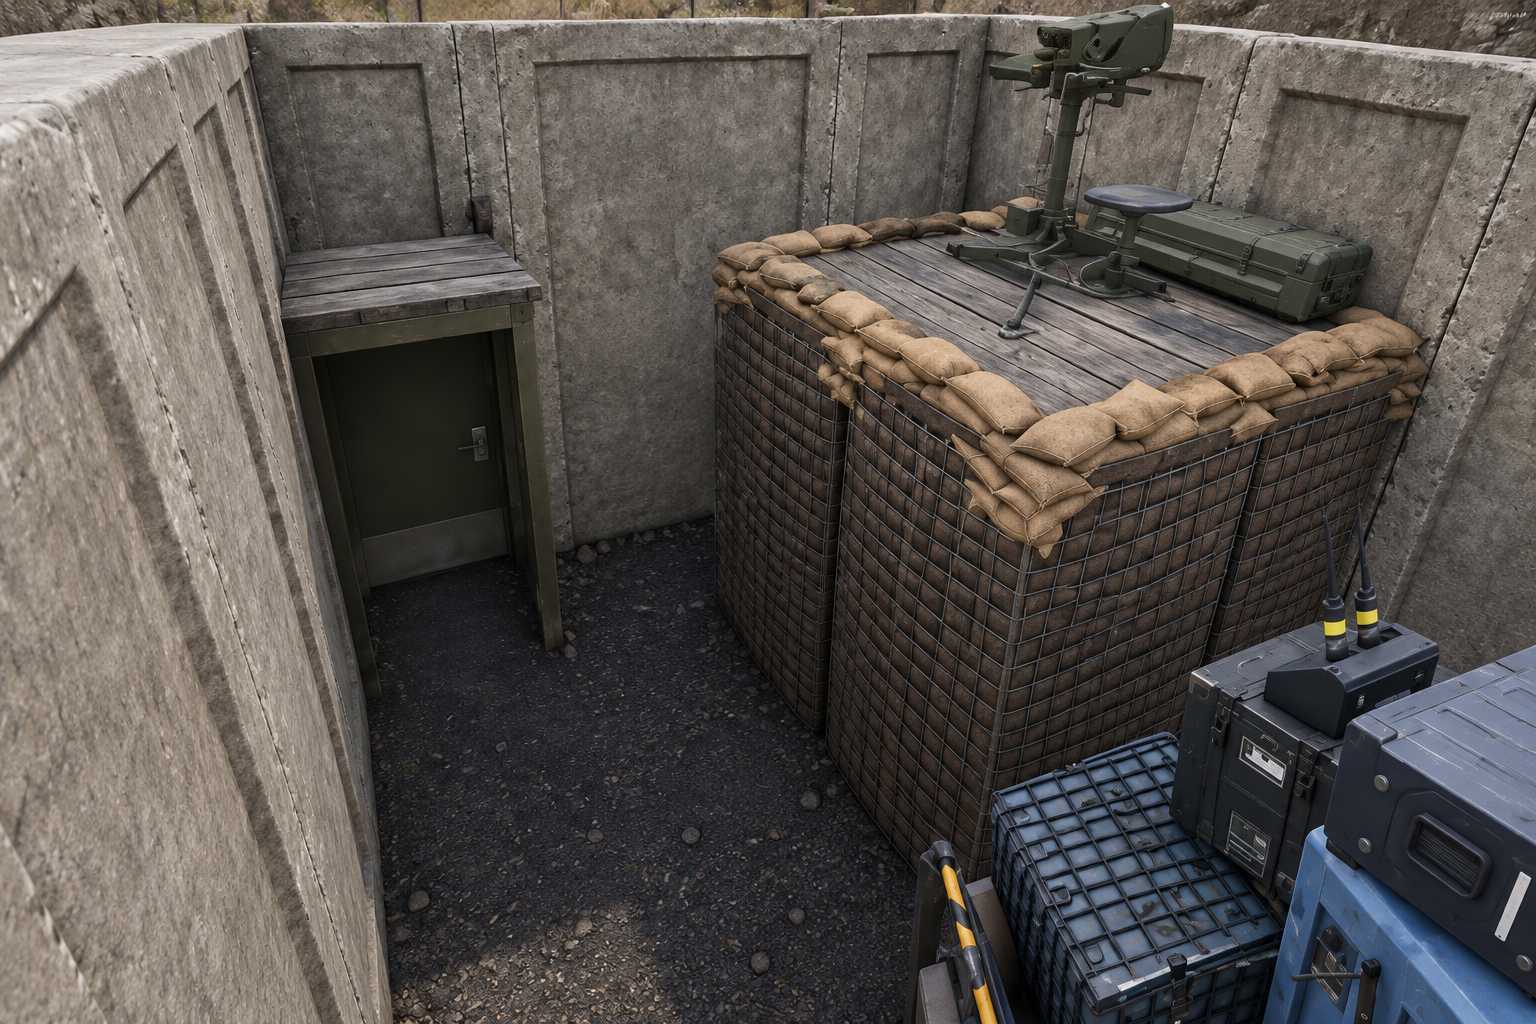
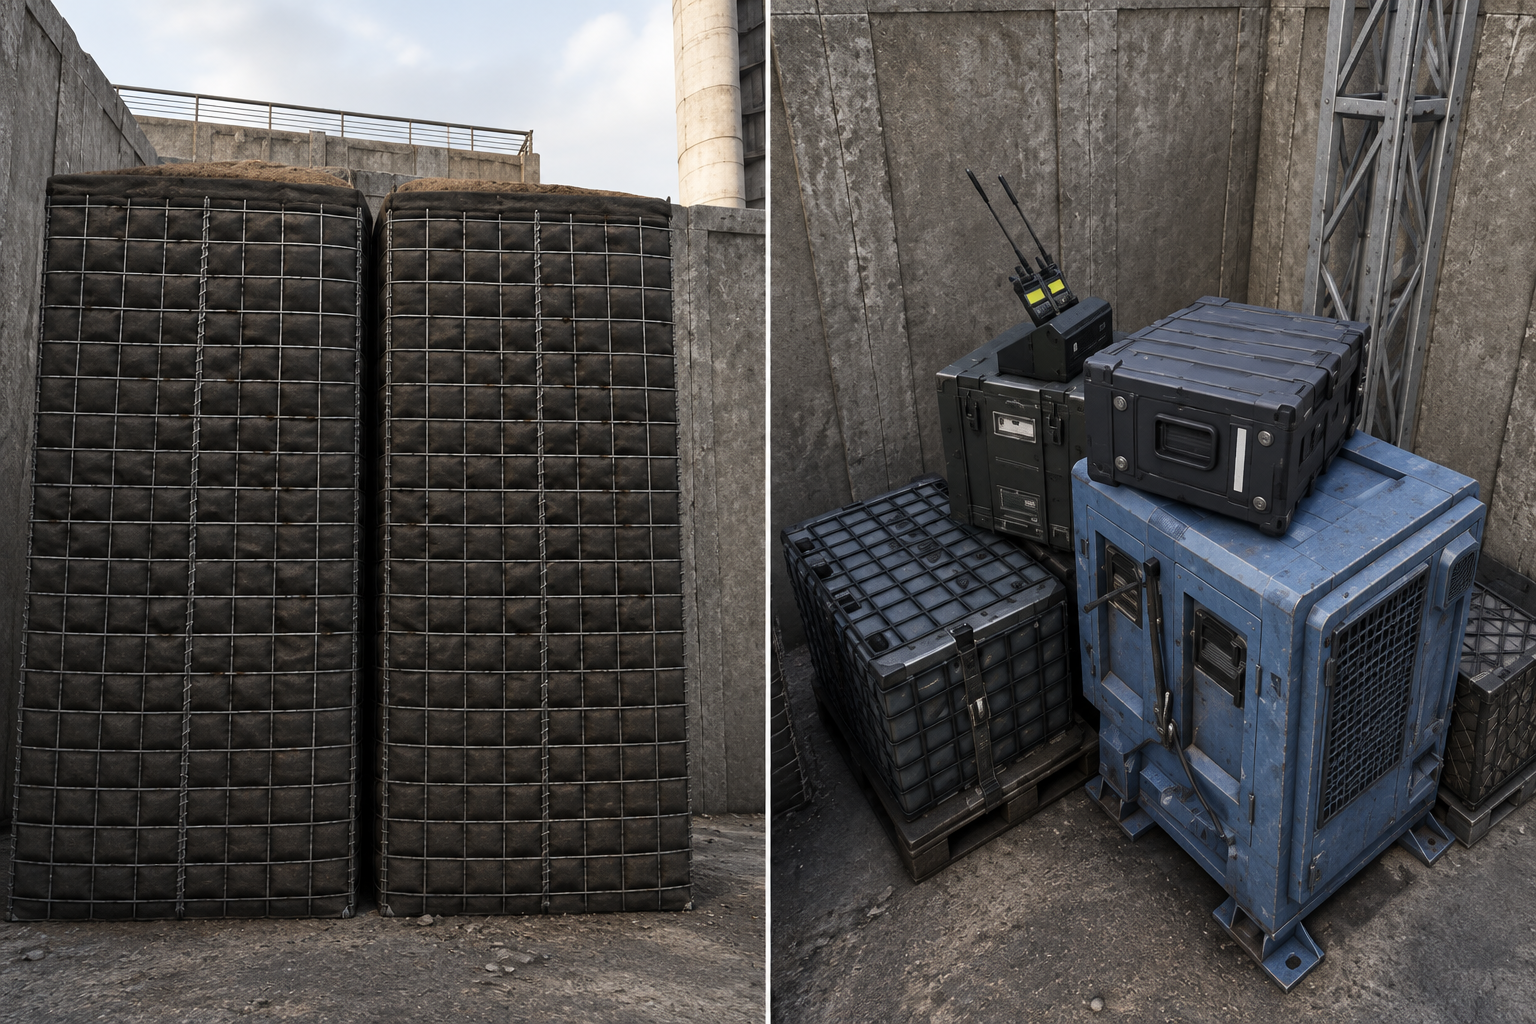
The build uses tall HESCO components, Bremer walls and a narrow entrance corridor. The images have been recreated from individual video frames, showing the tight interior, tall dark HESCO and compact blue FOB service equipment. They are AI-generated reconstructions, not game screenshots. Check hidden connections and exact spacing in game.
Before starting: Equipment and building pieces
Budget for the entire project first: personal equipment, FOB, tools, transport, ammunition and construction. Do not assume later rewards will immediately repay your purchases.
For the basic concept, plan for:
- A backpack with enough space for the required equipment; a Scout Backpack is one possible starting point.
- A placeable FOB and a Large Hammer.
- A Ural for resupply, with two suitable ammunition pallets if that configuration is available in the current game.
- Four tall HESCO pieces for the platform and one additional tall HESCO on the inside.
- One small HESCO to block a potential climbing route near the entrance.
- Bremer walls for the perimeter, corridor and finishing additions.
- Two entrance doors, with a third optional.
- An AA missile emplacement and compatible supplies.
Plan Bremer walls using the preview rather than a single fixed total. The underlying building sequence uses sections of three, seven, five and eight walls, plus two later additions. It does not provide a reliably complete count for the additional corridor. The images illustrate visible components rather than an exact material total.
Step 1: Choose a location you can resupply
Look for reasonably level ground with room for the perimeter, platform and entrance. Check that you can return with the Ural. A successful first delivery is of little use if subsequent access is blocked.
Give the position a useful team role. Consider relevant aircraft movement, friendly support and the active zone. Park outside without blocking access or putting the vehicle directly against a wall where it could become a climbing aid.
Unload pallets with the vehicle action shown in game; G is used with the default binding. Check the unloading position and ground first.
Step 2: Orient the FOB and platform side
Place the FOB so that the planned AA side can face outward. Before confirming, check where you will need to interact with the FOB and hand over ammunition.
Place the four tall HESCO pieces on the intended platform side. The detail views show their height and appearance, not a straight four-piece row. Align them with the corner and inspect their joins in the preview. Leave working space on the inside.
Step 3: Lay out the perimeter and entrance together
Position Bremer walls with their flat side facing into the enclosure. Work around the FOB one section at a time. Before completing everything, check the corners and intended entrance gap.
Leave a gap of one placement square for access and extend it into a narrow corridor. The actual square size comes from the building system, not the spacing in the illustration. Make sure the route to the FOB does not end at a completed wall.
How tightly the areas fit together
Use the visible components as your reference: the platform sits close to the tall concrete walls, with the entrance immediately beside it. The FOB is a compact equipment unit with cases and a mast. Do not plan a large open courtyard or a container building here.
The detail views show areas visible in the video. They clarify the component shapes and tight spacing. They do not provide an exact overhead layout of hidden components.
Step 4: Complete the walls and check the entrance
Finish the placed walls with the hammer and watch construction progress. A placed preview is not a completed barrier. If an interaction does not register, adjust your position and check the range and indicator.
Install the first door on the outside and a second further inside. Add a third only if enough room remains. Test each door separately and walk the route in both directions.
Inspect the outer doorway for ledges or objects that provide a climbing route. The small HESCO is intended to close such a route. Do not place it in a way that creates a new step over the perimeter. An entry corridor is not a guarantee against enemy access either: check current door behaviour and keep the entrance under observation.
Step 5: Complete the HESCO platform
Finish the four tall HESCO pieces of the platform. Add another tall HESCO on the inside, one placement square in from the end of the platform. Check that you can reach the intended working position.
The extra piece and platform must fit your actual placement. If access or movement does not work, correct the preview before committing more resources.
Step 6: Place and construct the AA emplacement
Select the AA missile emplacement and position it on the prepared platform. Rotate the preview so the box side faces the exterior wall. Check for collisions and make sure you will be able to reach and operate it.
Only then confirm placement. Use the hammer through to completion, checking the indicator at each building stage. A moving interaction point may require you to reposition; do not rely on a particular shortcut or a guaranteed construction time.
Add the final two Bremer walls where your layout still needs them. Check again that they do not obstruct an entrance or a required operating position.
Step 7: Complete the ammunition handover
Unloaded pallets are not automatically usable ammunition in the emplacement. Complete the handover at the FOB using the appropriate game interaction, then check the displayed stock.
Visit the AA position and verify its supply state. Avoid assuming a fixed conversion from pallets to missiles unless you have checked it for the current game version. Keep the return route open for another delivery.
Step 8: Walk through the finished layout
- Walk from outside through both doors to the FOB and back.
- Reach the FOB service side and the AA operating position.
- Inspect wall ends, corners, door frames and potential climbing aids.
- Check that all required construction is fully completed.
- Verify ammunition and supplies at their respective indicators.
- Park the Ural and loose cargo clear of the entrance and supply route.
Avoid common building mistakes
If access is too tight, correct the corridor before adding another door. If the launcher cannot be placed, inspect the platform, orientation and collisions first. If ammunition is missing despite visible pallets, check the FOB handover step.
Use our Logistics Planner for the next delivery. Include time for repairs, supplies and relocation: a completed AA FOB remains a position that needs attention, rather than permanent unattended protection for your team.
More from Fieldkit
WARDOGS money guide: Three playstyles with MAAWS, Verba and AT mines